The short answer
Give everyday belongings agreed places near—but not in—the route through the door. Start with a household conversation, observe what each person carries, and try containers or furniture you already own. Check that everyone can reach and use their storage, then review the arrangement after a week. You do not need matching baskets or identical routines.
1. Agree on what the entryway needs to do
Before moving anyone’s belongings, ask everyone who uses the entrance to describe one difficulty and one thing they want to keep.
Try questions such as:
- What do you need to put down immediately when you arrive?
- What do you regularly search for before leaving?
- Do you need to sit to change shoes?
- Which belongings should other people leave alone?
- Would you rather see your things or have them inside a container?
Keep the conversation about specific actions. “I need somewhere to put my bag while unlocking the door” gives you something to design around. “You always make a mess” does not.
Choose a few shared priorities: an unobstructed entrance, accessible keys, somewhere for daily shoes, and a clear destination for incoming mail. Treat preferences about color, matching containers and concealed storage as separate decisions.
Fairness need not mean identical storage. One person might prefer a shallow dish; another might want a hook. Someone who needs to avoid bending may require a different shoe location.
Also agree on what happens when someone’s belongings are in the way. A useful starting rule is: move an obstruction to its owner’s agreed place, but do not discard, hide or reorganize their possessions without asking.
2. Inventory arrivals and departures, not every possession
For a few ordinary days, notice what actually crosses the threshold. Include workdays, errands and any regular activity that changes what you carry.
You are not making a complete household inventory. You are identifying the objects that need a reliable handoff between outside and inside.
Use a simple table:
| Object | Who uses it? | What happens on arrival? | Where should it go next? |
|---|---|---|---|
| Keys | Each resident | Put down after unlocking | Personal dish or suitable hook |
| Daily shoes | Each resident | Removed or changed | Agreed shoe position |
| Work bag | Its owner | Set down while unloading | Entry storage or another room |
| Named recipient | Brought inside | Recipient’s pocket or folder | |
| Shopping bags | Whoever shops | Unloaded | Return to their usual storage |
Separate daily storage from temporary staging. A bag used every morning may belong near the entrance. A parcel awaiting opening needs a temporary destination and an owner, not permanent floor space.
Ask whether each object genuinely needs to stay at the door. Perhaps keys do, but a laptop bag can move directly to a desk after unloading. Keep occasional footwear elsewhere if everyone agrees.
For sentimental objects, make the decision separately. A meaningful bowl might become a key dish if its owner welcomes that use. It should not be reassigned simply because it happens to fit.
3. Protect the route and test everyone’s reach
Plan the empty space before planning the storage.
Open the entrance door through its normal movement. Check the space needed to approach the handle, step or roll inside, turn, and continue into the home. Repeat with the mobility aids and bags residents actually use.
As a reference, the U.S. Access Board’s ADA standards generally specify a 36-inch minimum clear width for accessible walking surfaces, with additional requirements for some turns and door approaches. Use this as a planning benchmark, not as a complete accessibility assessment or a determination of the requirements applying to your home. A clear passage alone does not establish adequate maneuvering space. (access-board.gov)
Then test storage from each person’s usual position. The Access Board identifies 15–48 inches above the floor as the unobstructed adult reach range for operable parts. Obstructions change the reach requirements; height alone is not enough. Keep essential items away from deep surfaces and awkward corners. (access-board.gov)
For everyday use, ask each resident to retrieve and replace their keys, shoes and bag without stretching, balancing or moving someone else’s possessions.
Check operation as well as reach. Accessibility guidance favors operable parts usable with one hand, without tight grasping, pinching or wrist twisting. Apply that principle when choosing between an open tray, a fiddly latch and a stiff drawer. (access-board.gov)
If someone needs a seat, use furniture intended for sitting—not a shoe shelf assumed to double as a bench.
4. Try a low-cost layout before buying organizers
Start by borrowing containers from elsewhere in the home: a spare dish, an unused document folder or a washable tray. Treat the first arrangement as a trial, not a decorating project.
Choose from these layouts according to the space and the household’s needs.
Existing surface layout
Place separate key dishes and a mail folder on a stable surface near the entrance. Keep frequently used items near its accessible edge. This avoids installation, provided the furniture does not obstruct movement.
Wall-and-floor layout
Use appropriately installed hooks for suitable lightweight belongings, with a shoe tray or low rack outside the travel route. Test the arrangement with items hanging: a coat or bag projects farther into the room than an empty hook.
Split-location layout
Keep only keys and incoming mail near the door. Store shoes and bags just inside an adjacent room or in another agreed location. This is worth trying when the entrance cannot accommodate storage and comfortable movement together.
For each category, make the placement specific:
- Keys: Give each person a distinct destination. If loose keys are difficult to pick up, ask what arrangement is easiest for that user.
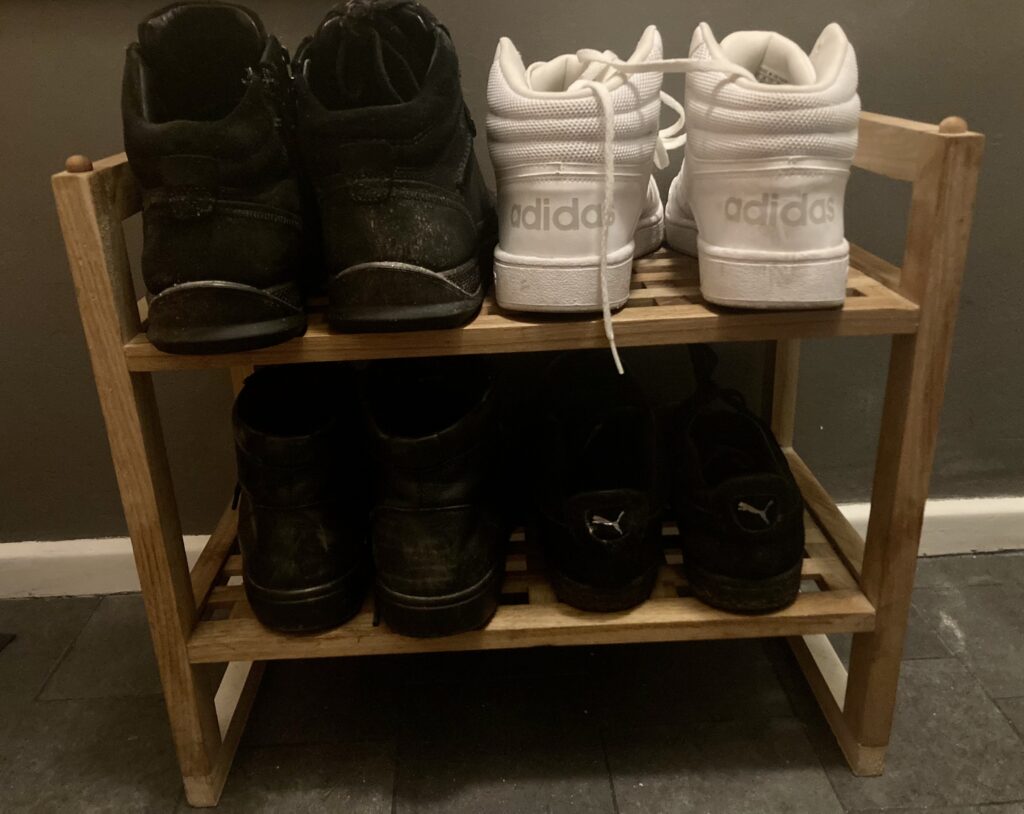
- Shoes: Reserve positions for footwear in current use. Choose a location the owner can manage without uncomfortable bending.
- Bags: Store heavy bags on an appropriate supporting surface unless the proposed hook is explicitly rated for the loaded bag.
- Mail: Use recipient-labeled pockets or folders. Add a separate place for shared household paperwork if needed.
An over-door organizer is another possibility, but only after checking its own instructions, fit and load limit. Confirm that the door still opens, closes and latches normally. Do not force a poor fit.

5. Check installation and load limits before hanging anything
“Removable” is not a promise that every wall finish will remain undamaged.
Before installing hooks or storage, check the rental agreement or obtain permission where needed. Identify the exact product, permitted surface, installation method and load limit. Do not substitute remembered instructions from a different hook.
For example, Command’s manufacturer guidance says weight limits vary by product. It advises against heavily textured surfaces, wallpaper, brick and rough concrete for its standard strips, and says adding extra strips does not necessarily increase capacity. Those instructions are specific to Command products—not adhesive hooks generally. (command.com)
For its indoor and outdoor hook application guidance, the manufacturer specifies cleaning with rubbing alcohol, waiting seven days after painting, and following the illustrated pressing and waiting steps. It also warns against hanging valuable or irreplaceable objects. Follow your exact package if its instructions differ. (command.com)
Make these practical checks:
- Check the loaded item. A bag’s empty weight is not the weight it carries to work.
- Keep within the stated limit. Do not assume two hooks share a load evenly.
- Leave removal access. Do not position a hook where its release tab becomes inaccessible.
- Read furniture instructions. Check assembly, shelf limits and any required wall attachment before use.
- Inspect during the trial. Stop using an attachment that loosens, shifts or damages its supporting surface.
If safe installation is uncertain, use an appropriate existing surface or change the layout. Do not improvise mounting hardware.
6. Work through a two-person example
Consider this hypothetical household, not a tested installation.
Resident A arrives with a work bag and wants visible storage. Resident B prefers concealed papers, needs to sit to change shoes, and finds low storage uncomfortable. Both want fewer last-minute searches for keys.
They already have a stable small table near the entrance and a suitable chair in the adjoining room.
Their first arrangement could be:
| Need | Trial arrangement | Check before keeping it |
|---|---|---|
| Separate keys | One dish per resident on the existing table | Can both retrieve keys comfortably? |
| Different mail preferences | Open pocket for A; folder for B | Is each person’s mail identifiable and reachable? |
| Heavy work bag | Existing storage in the adjoining room | Can A put it down without blocking the entrance? |
| Seated shoe changing | Existing chair, with B’s shoes within comfortable reach | Can B sit, change shoes and stand without moving objects? |
| Daily shoes for A | Tray outside the route through the door | Does it stay clear when shoes are actually present? |
They test arrivals and departures with their usual belongings. If the table interferes with movement, they relocate the key dishes and mail storage rather than accepting a narrower route.
They might agree that whoever brings in mail places it in the recipient’s destination, but does not open or discard it. Each person handles their own papers. Parcels go to an agreed indoor staging place.
After a week, they ask what was awkward. Perhaps B’s folder needs a different position, or A prefers taking keys straight to a personal bag. The next step is to adjust that detail—not replace the entire system.
7. Review the trial and write a small household agreement
Choose a review date when you set up the trial. A week is a suggested starting point, not an evidence-based deadline; extend it if the period misses important routines.
Discuss three questions:
- What was easier?
- What was difficult to reach, use or remember?
- What repeatedly ended up somewhere else?
Treat repeated misplacement as a reason to investigate. The destination may be inconvenient, too small or incompatible with someone’s routine.
Watch for these common mistakes:
- Buying containers before identifying needs: Try what you own first.
- Giving everyone identical storage: Offer different arrangements where useful.
- Checking empty furniture only: Repeat the movement check with shoes, coats and bags in place.
- Letting mail storage become an archive: Agree when each recipient will move or process their papers.
- Turning staging into permanent storage: Give temporary items an owner and a next destination.
- Making one person the default cleaner: Assign only tasks people have agreed to take on.
Finish with a short agreement:
- Everyone helped choose the arrangement.
- The door and route remain usable with belongings present.
- Each person can comfortably reach and use their storage.
- Keys, daily shoes, bags and mail have clear destinations.
- Private belongings and papers are handled only as agreed.
- Installation and load instructions have been checked.
- Temporary items have a next destination.
- Reset tasks and a review date are agreed.
The goal is not a permanently empty entrance. It is an entrance everyone can use—and an arrangement everyone is allowed to help change.